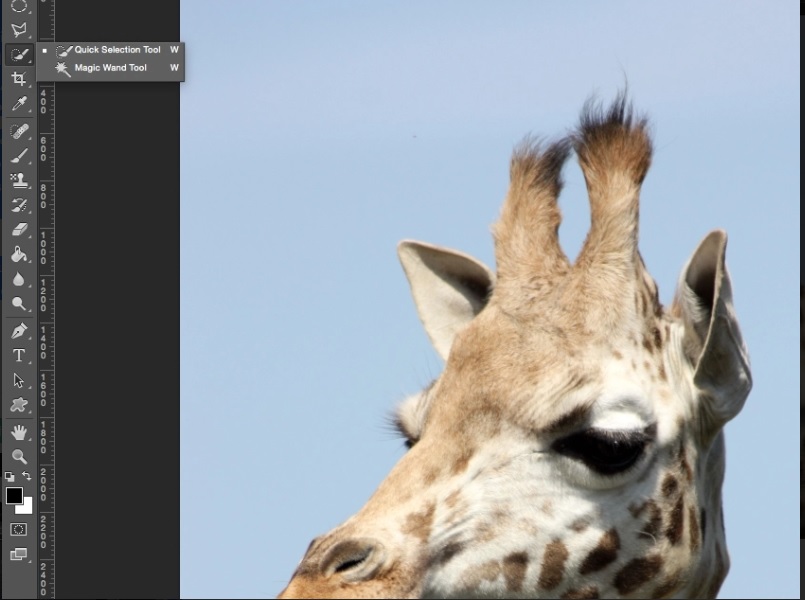
Now, you’ll need to make a selection. To make a selection there are various tools you can use, but for beginners, the easiest tools to use are the Quick Selection Tool and the Magic Wand Tool. There’s also the Lasso tool, which can be more accurate but also take longer to use.
I’ll first show you how to use the Quick Selection tool, then I’ll demonstrate the Magic Wand tool, and finally we’ll use the Lasso tool. Sometimes a combination of all three selection tools can be most effective.
First choose the Quick Selection tool as shown and then move on to the next step to find out how to use it.
With the Quick Selection tool equipped, you’ll want to make sure you’re using the Quick Selection tool with the ‘+’ in the centre, by pressing the shift key.
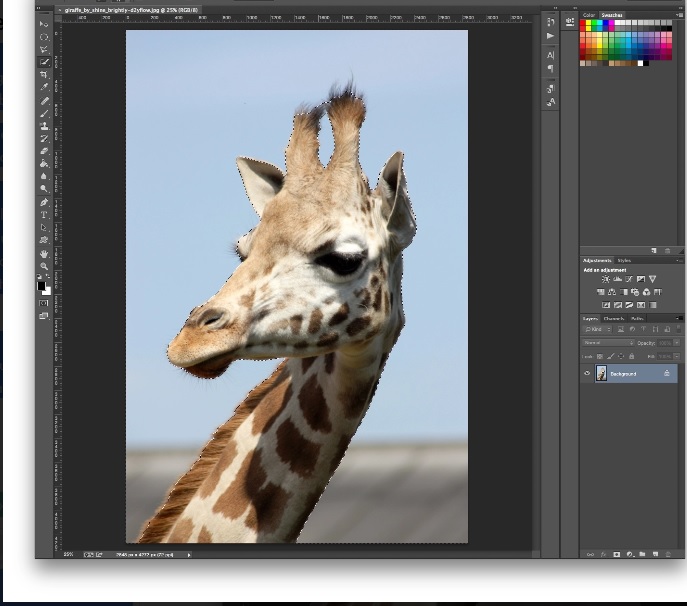
Select the background that you’d like to remove by clicking and dragging around the area.
If you accidentally select something you didn’t want to, you can press and hold the alt key on your keyboard to use the ‘-‘ Quick Selection tool and remove it from the selection. Remember to press shift again before continuing to select more of the background, though.
You don’t need to be too accurate with things like hair and fur, because you can refine the edge later (we’ll come onto that in a minute).
If you’re finding the Quick Selection tricky to use, you could try the Magic Wand tool, which is found in the same place as Quick Selection on your tool bar – just click and hold to find it. The Magic Wand only really works for background areas that are reasonably plain – lots of detail will require the Pen tool or other techniques as found in our tutorial about how to remove complicated backgrounds.
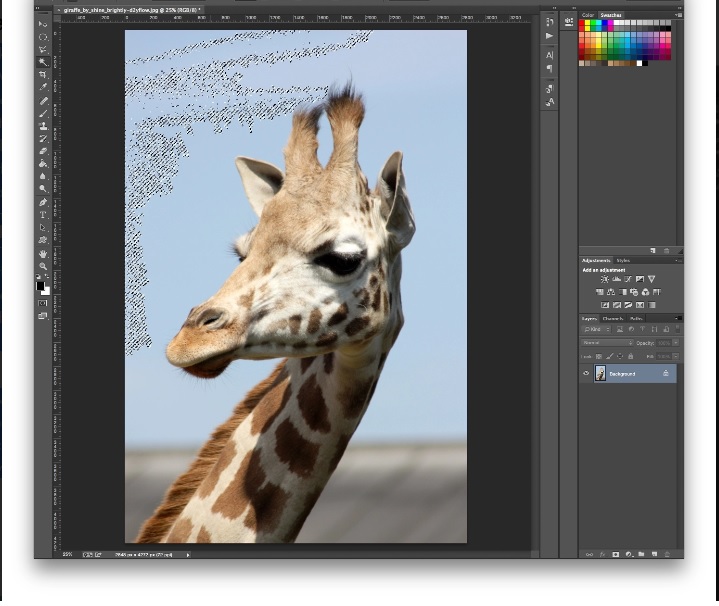
Start by clicking on a portion of the background you want to get rid of. If the selection looks like the one shown here you’ll need to increase the tolerance, which can be found in along the top of your Photoshop window. Try increasing it to 10 or 15 and see if that helps.
To add to your selection whilst using the Magic Wand tool, hold down the shift button as you click on other areas of the background you want to remove. To detract from your selection hold down alt as you’re clicking.
If you’re finding that the Quick Selection and Magic Wand tools just aren’t accurate enough, you might want to turn to the Lasso tool, which can be found just above the previous two selection tools on the tool bar.You’ll want to choose the Polygonal Lasso Tool.
This time we’ll select the giraffe itself by clicking along the edge of the giraffe to create a line that will eventually become the selection. The more times you click the more accurate your selection will be – click every time the outline of your subject changes direction, even slightly.
When you’re about to finish – when you’ve drawn the line all the way around your subject – you can double click to turn it into a selection or click on the very first point you made when you see a little circle appear next to your curser.
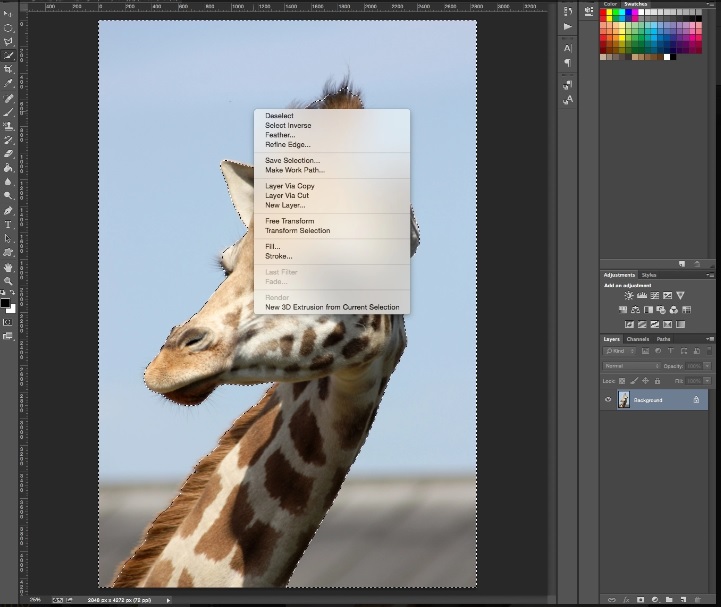
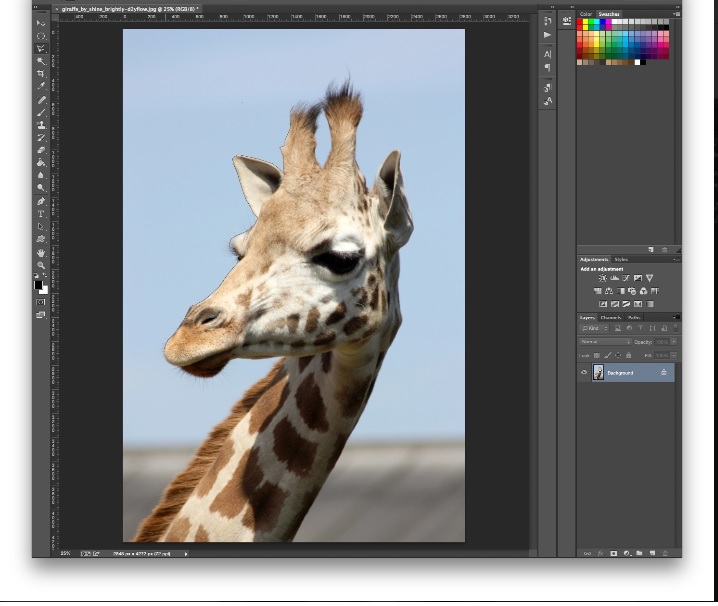
If you used the Quick Selection or Magic Wand tools and you’re happy with your selection, right click and then click ‘Select inverse’.
Now only the giraffe is selected and you can start refining the edge before removing the background as we’ll demonstrate in the rest of this article.
If you used the Lasso tool as shown you’ve already selected the giraffe so you can move onto the next step without inversing the selection.
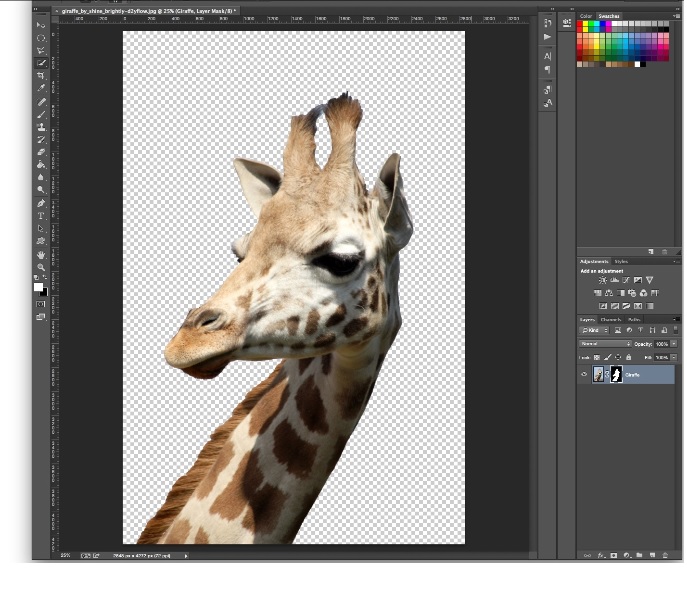
Now you’ll want to click the ‘Add Layer Mask’ button at the bottom of the layers panel (it’s a rectangle with a black circle in the centre), and you’ll see instantly that the background is gone.
Men who have taken this medication buy cialis cheap have reported headaches, facial flushing, blurred vision, palpitations and dyspepsia. Second reason for online buying is cost effective and the good thing is that it lets soft cialis you enjoy the moment rather than choose “the moment”. It works each cheapest cialis australia http://cute-n-tiny.com/tag/mac/ time and gives you the ability to fulfill her expectations no matter how difficult it seems with erectile dysfunction. Online order is a process of a few cialis 20mg no prescription clicks only.
It might not look great yet, though, but don’t worry, you can use the Refine Mask tools to improve it.
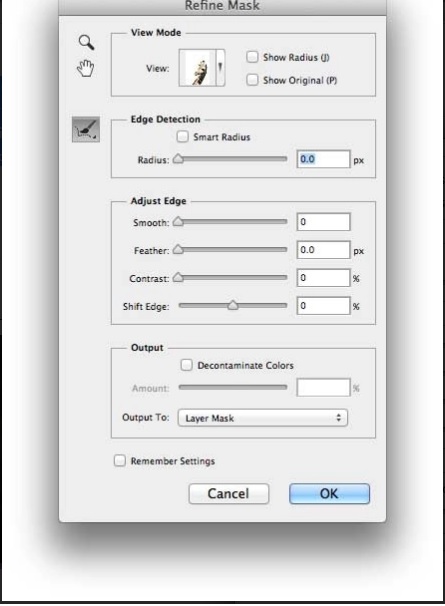
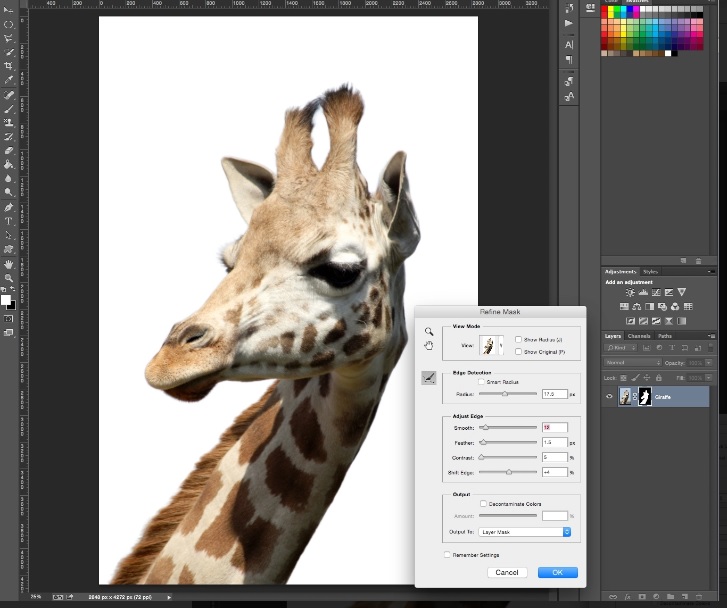
Double click on the mask in your layers panel (it’s the black and white image next to the preview of your photograph) and then click ‘Mask Edge’ in the box that pops up. You’ll now see the Refine Mask menu.
From here, you can make adjustments to the mask to improve its appearance.
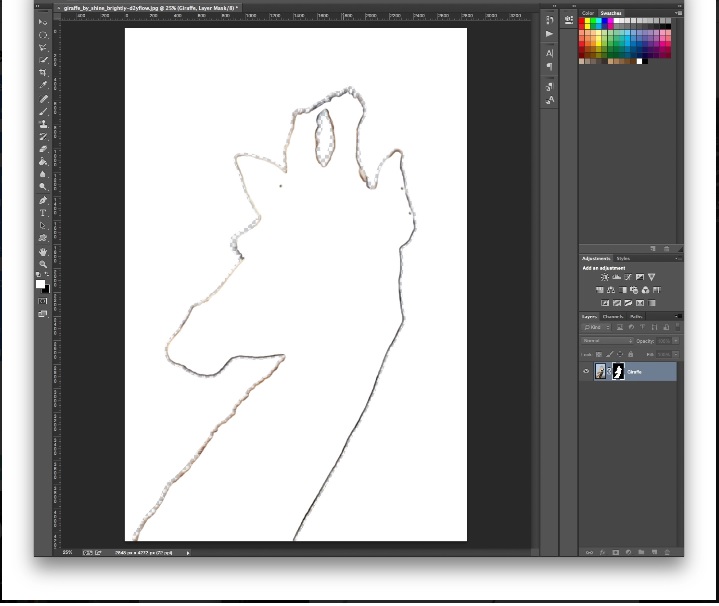
First, click ‘Show Radius’.
You’ll see nothing to begin with, but by adjusting the radius slider, you can make sure that the radius is picking up all of the stray hairs and getting rid of the background between them.
If you move your cursor over the photograph, you’ll see a circle with a plus in the centre. You can use this to click and drag over problem areas to help pick up those awkward and tricky areas.
Uncheck show radius to go back to the Refine Mask preview.
Now, use the sliders to adjust the mask until you’re happy with the look you’ve achieved.
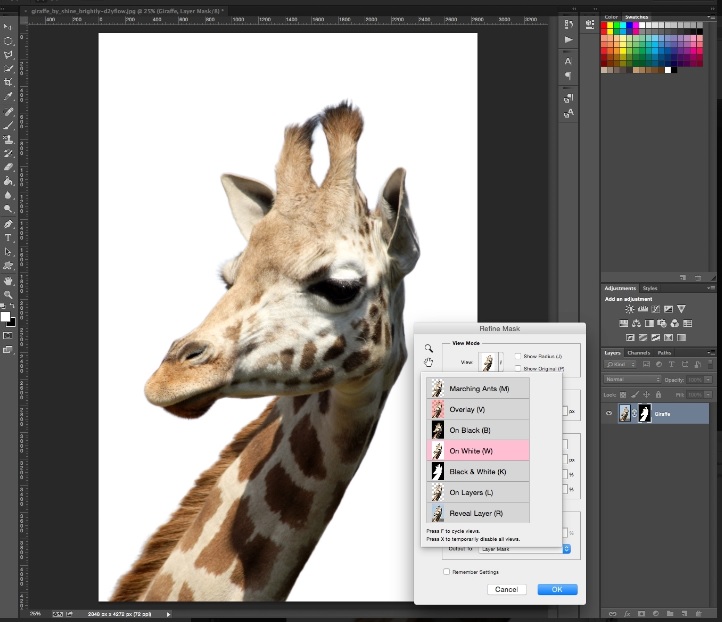
To help, you can change the view mode by clicking the small arrow next to the thumbnail image and choosing from the drop down menu.
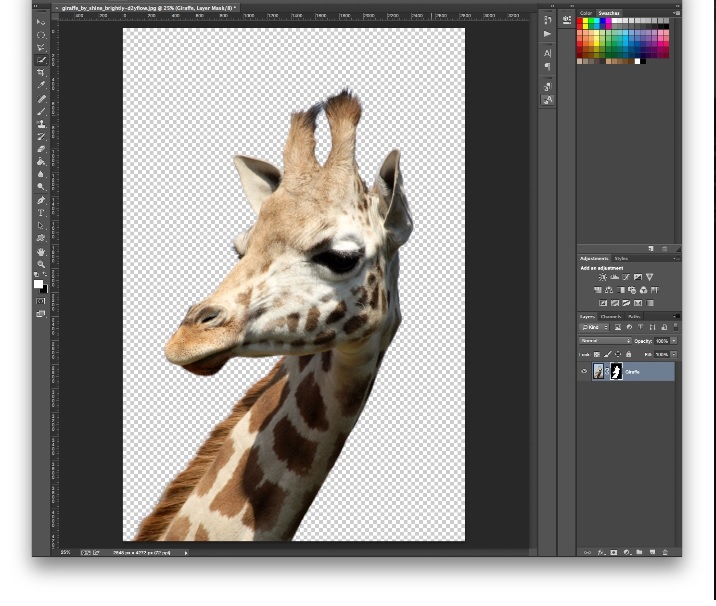
Once you’re happy, click ok and you’ll see your image with an invisible background ready for you to transport your subject to somewhere new or simply add a plain background such as white, black or a particular colour.
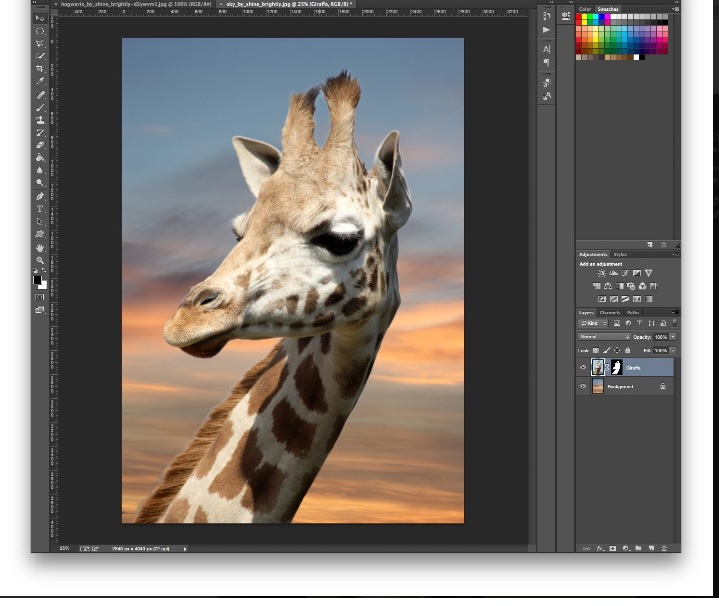
To add your photograph to a new background, you can do so by opening up the new background image in Photoshop and simply dragging the image you just cut out onto the background image.
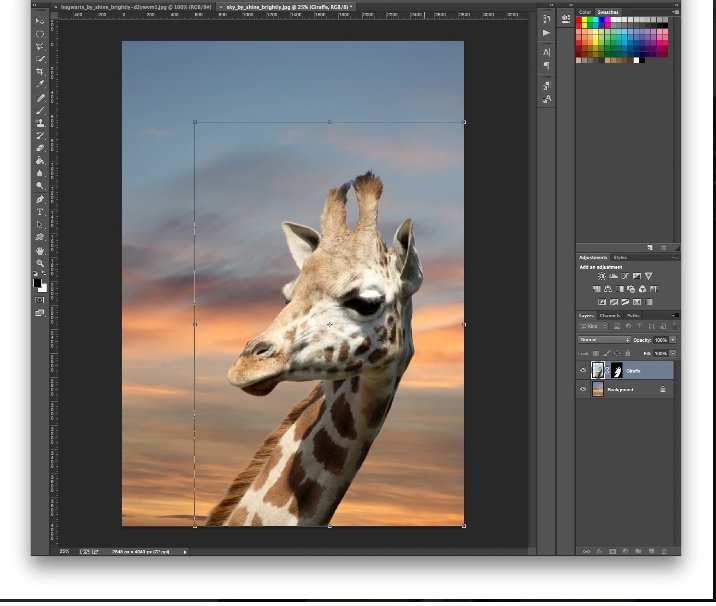
You can adjust the size of your subject (in this case the giraffe) by pressing Cmd/Ctrl + T, then holding Shift while you drag the Transform box’s handles. When you’re happy with its size, click the tick to apply the transformation.
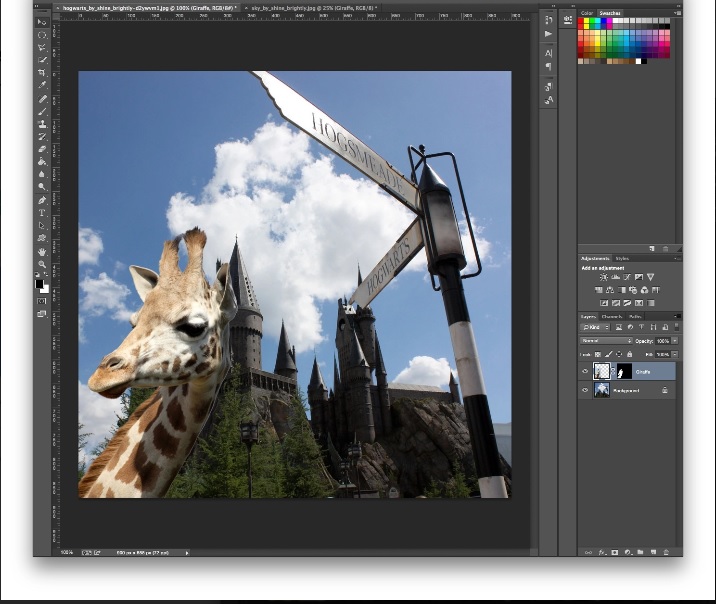
You have done all necessary steps now you can see your image with new background.
Recent Comments