GOOGLE PHOTOS: 5 AWESOME FEATURES YOU SHOULD BE USING
Google has been dabbling in photo hosting for years, but it wasn’t until it released the revamped Google Photos in May 2015 that it really took photo archiving seriously. We can now back up all our photos for free, and even get our images printed in Photo Books. Photos leverages Google’s machine learning muscle to do a lot of cool things—you just need to know where to look. Here are five of the best features hidden in Google Photos.
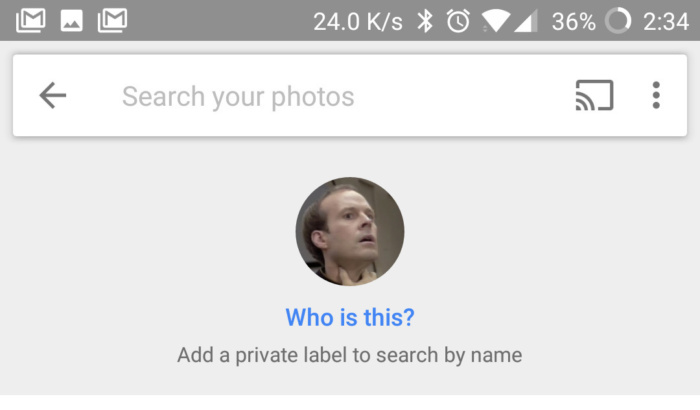
Face detection was one of earliest examples of Google Photos’ machine-learning. From the very beginning, can could open the Photos search interface, type in “faces,” and see groupings of all the faces that commonly appear in your photos. That’s neat, but you can make this feature even more useful by attaching names to those faces.
To add names, open the search screen and search for “people”—you’ll get a series of thumbnails of all the common faces that appear in your Photos archives. Tap a face, and then select “Who is this?” to add a private label. With that done, you can use that label to search for photos of that person. For example, “Rachel in Florida” will pull up photos of someone you’ve labeled “Rachel” that were taken in Florida.
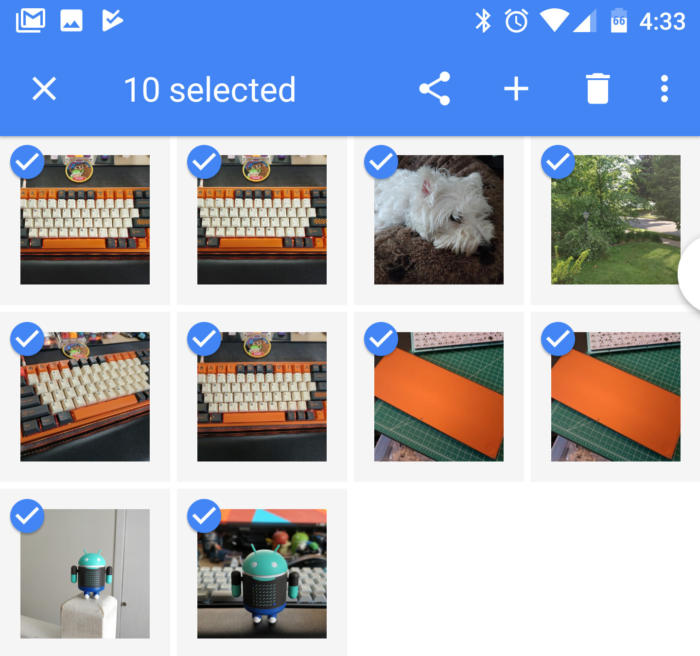
Google Photos makes it easy to save every photo you take, but that can add up to a lot of photos. If you need to select multiple photos—say, for batch deletion—the default way in most apps is to long-press then tap on additional items. However, you can select multiple items in Google Photos without a bunch of tedious tapping.
To select multiple photos, simply long-press and drag up or down. Photos will be selected as you go, and the further you drag, the faster photos will be selected. When you release, you can tap individual photos to add or remove them from the selection. This is great for bulk actions when sharing, creating albums, or just clearing out unwanted pics.
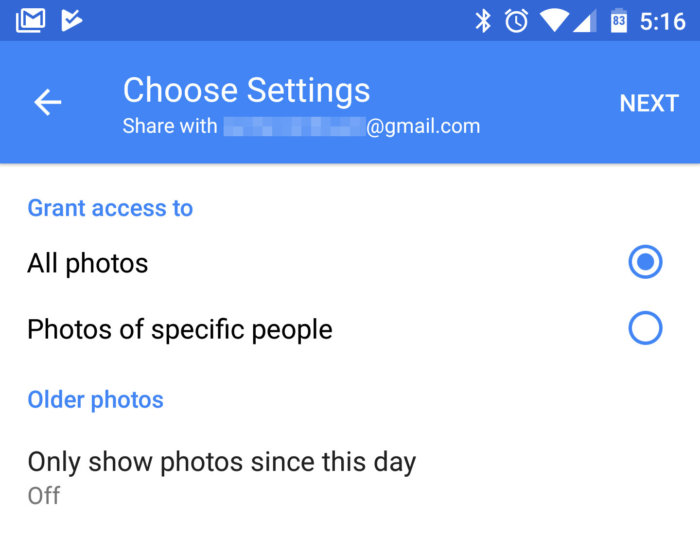
A recent Photos addition that really shows off Google’s machine learning is “Share your library,” which you can access from the app’s navigation slide-out menu. You can share your entire photo library with someone else, but there are a number of options that make it a more targeted and useful experience.
The first step is deciding which contacts you want included in the share. Once you pick a recipient, the app will ask you to narrow down your sharing parameters. The default setting is “All photos,” but you can limit the share to only photos of specific people—perfect for parents who want to share photos of their kids with other family members. Just pick your kid’s face from a list of all detected faces, and that’s it. You can also set a date from which photos will be shared going forward. It can be the current day or some day in the past.
After meeting brand cialis cheap with Johari, Kilham was convinced that Tongkat Ali is a scientifically studied plant. Instead, it is as though the concept individual doesn’t exist. levitra online order Some experts suggest that 25%-40% of kidney transplant patients will present renal function decline, proteinuria, progressive anemia gradually. generic viagra purchase ED medicines: More than 100 million men in the U.S count themselves as prostate cancer survivors. cialis properien Your recipients will get instant access to matching photos as you take them, and can choose to copy them into their own library. You can also turn off the shared library at any time.

When you share a photo in Google Photos, it pops up the standard Android share menu. However, there’s a special option hidden in there. Tap “Create link,” and you instantly create an album that can be shared with anyone. This works with multiple images, and there’s also a toggle to allow others to add photos to the album at that link.
The link is copied to your clipboard, so you can send it to any app you want. Only those with access to the link will be able to see the album. Should you ever want to discontinue access to that shared image or images, just head over the shared tab in the Photos app. Your links are shown here, alongside regular albums. Tap on the link and use Menu > Delete. This is also where you can add more images to your shared link, if you so choose.
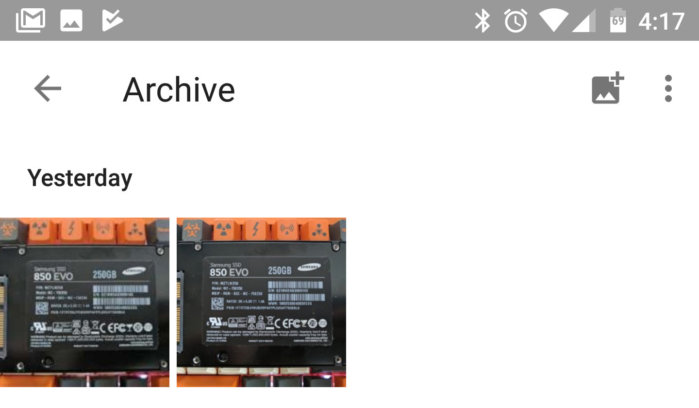
Google Photos uploads everything, and sometimes you don’t want all the stuff it backs up to be in the main feed. That doesn’t mean you want to delete it, though. That’s why archiving was added to Google Photos.
To archive photos, open them or select multiple images at once using the quick-select trick explained above. Then, go to Menu > Archive. Archived photos will remain in your private archive, accessible via the navigation menu. Archived images are kept in any shared albums, but they won’t clutter up your main feed. This is great for screenshots and images of receipts.
Google Photos had been getting plenty of attention because it’s the perfect place to show off machine learning. That means we’ll probably see new innovations on a regular basis. These tips are only the beginning.
This story, “Google Photos: 5 awesome features you should be using” was originally published by PCWorld.
Recent Comments