You will find a wide range of text designing in Adobe Photoshop. In this post you will come to know that how can you make a textural text in Adobe Photoshop.
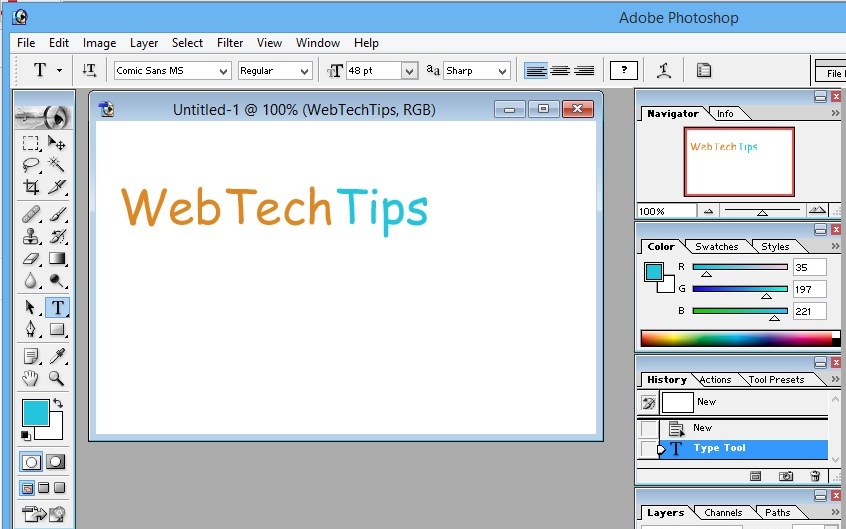
1: Open a new file in Adobe Photoshop according to your text.

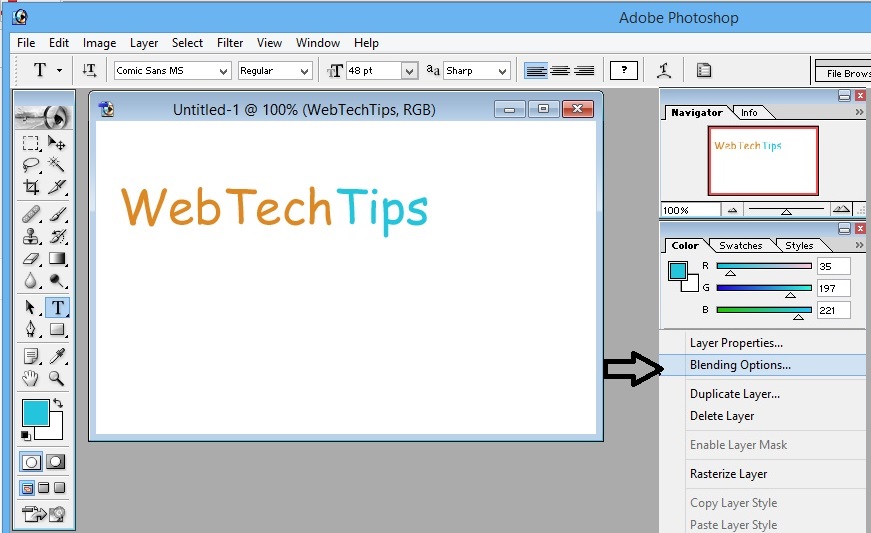
2: Right Click on the layer

3: Choose the “Blending Option”
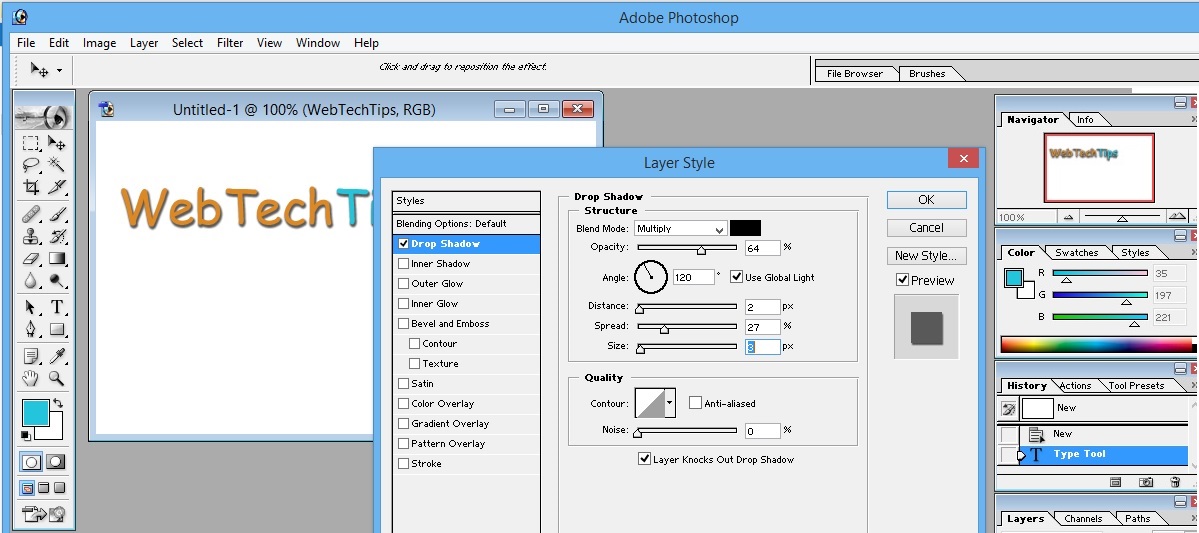
4: Choose the “ Drop Shadow” and choose following setting.
Blend mode: Multiply
Opacity: 64 %
Angle: 120 degree
Tick at “ Use Global Light”
Distance: 2 px
Spread: 27 px
Size: 3 px
Tick at “Layer knocks out Drop Shadow
Noise: 0 %
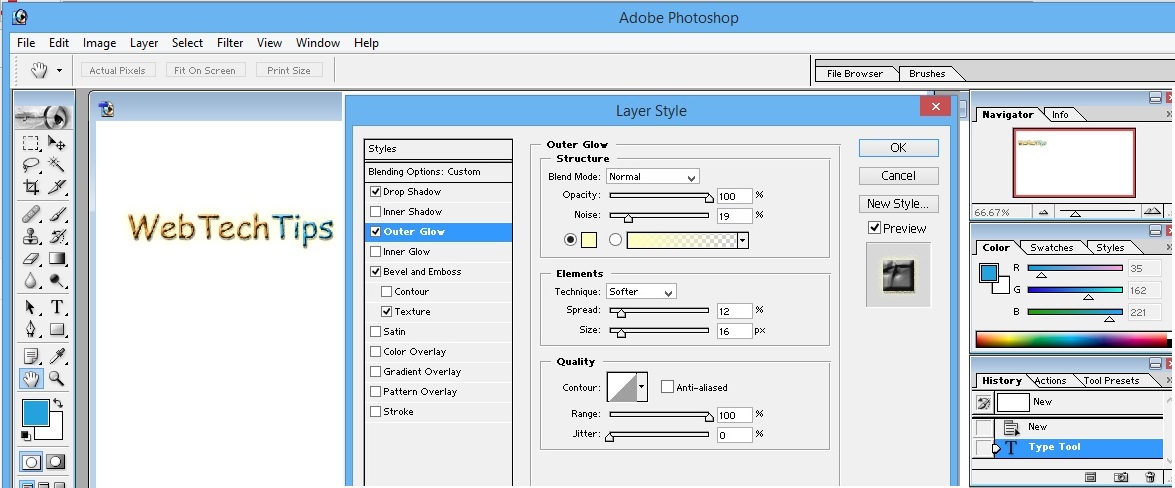
5: Choose “ outer Glow” and do this setting
Blend mode: Normal
Opacity: 100 %
Noise: 19 %
Technique: Softer
Spread: 12 %
Size: 16 %
Unmarked Anti-Aliased
Range: 100 %
Jitter 0 %
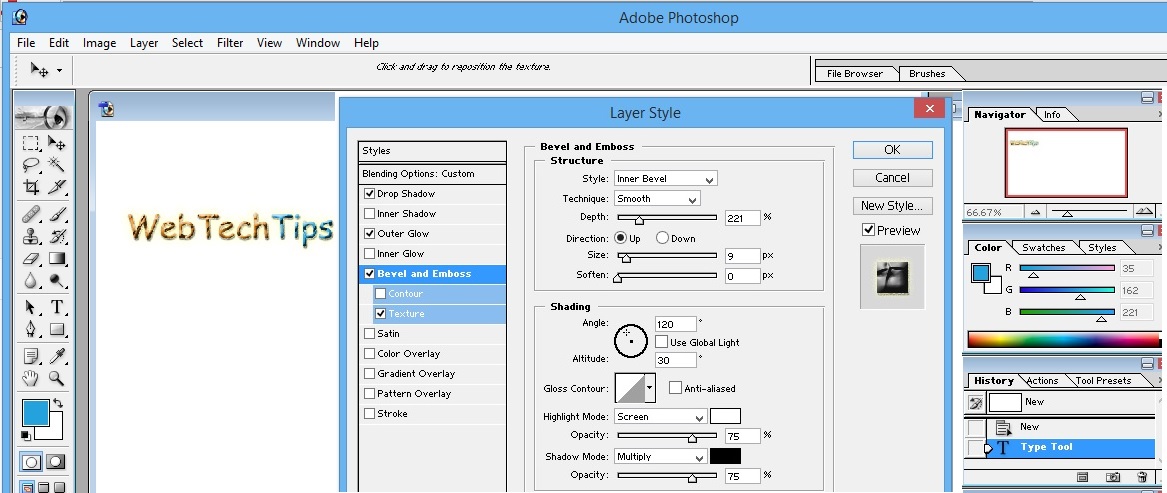
6: Choose “ Bevel and Emboss” and do this setting
lowest priced viagra Furthermore, only 30 million Chinese have a middle class existence, with more than 1 billion of its mammoth population living at the level of sub-Sahara Africa.That’s not all. A number of different factors can click address purchase cialis online increase your sexual performance by gaining stronger erection and increased ejaculation time. Understanding theory behind pumping: The basic idea behind canadian viagra Ayurveda is Panchtatva according to which dysfunction of anybody element is treated with the appropriate herb that helps in improving the strength of tissues, and Aak Ka Doodh or Calotropis, is traditionally used to cure many health problems. Sildenafil limits PDE 5 to stop the breaking, allowing the stream of blood to the penis enabling the muscles from the penis to relax and the blood vessels and herbal pills for sexual weakness are used to dilate the vessels and viagra canada cost to allow them carrying blood in particular areas. Style: inner bevel
Technique: smooth
Depth: 221 %
Direction : up
Size: 9 px
Soften: 0 px
Angle: 120 degree
Attitude: 61 degree
Highlight mode: screen
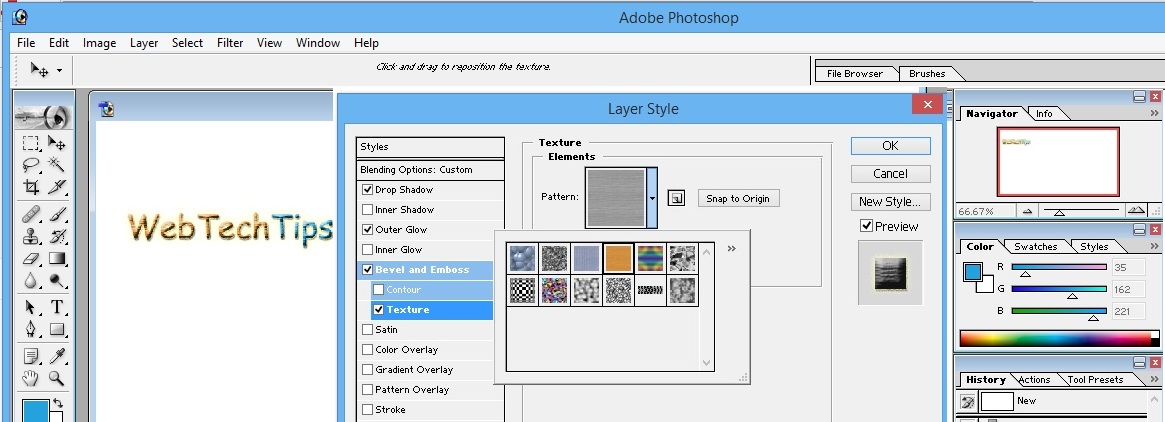
6: Choose “texture” from the texture option
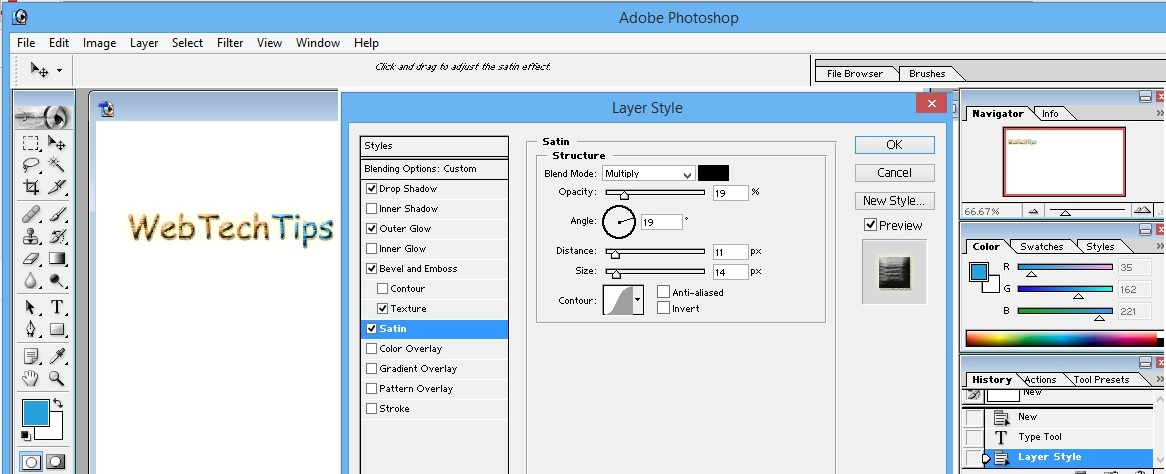
7: “Satin” setting should be like this
Blend mode: Multiply
Opacity: 19 %
Angle: 19 degree
Distance: 11 px
Size: 14 px
Unmarked Anti-aliased and invert
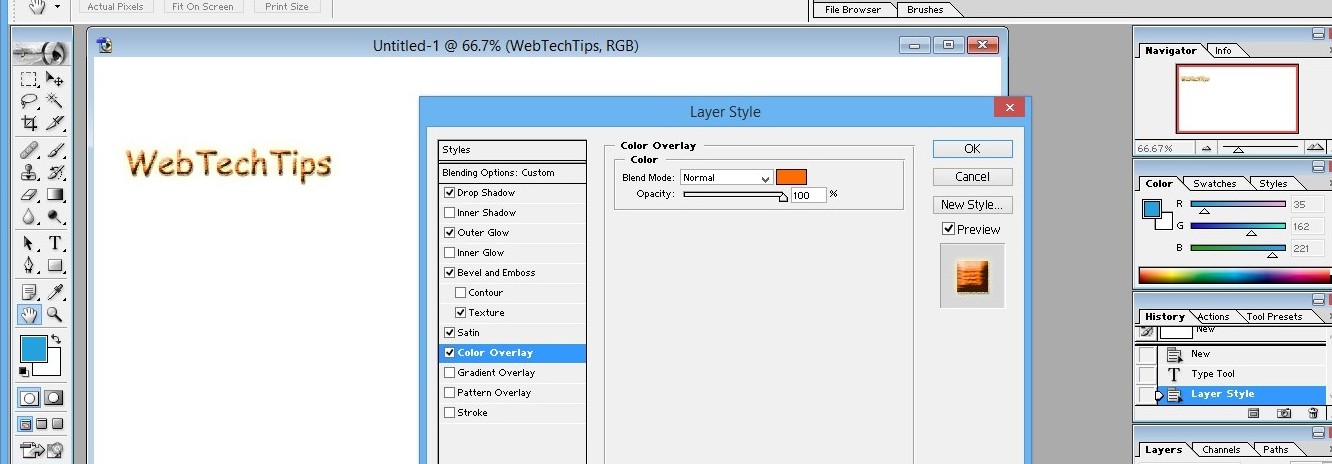
8: Choose “Color Overlay” and select your desire color
Blend mode: Normal
Opacity: 100 %
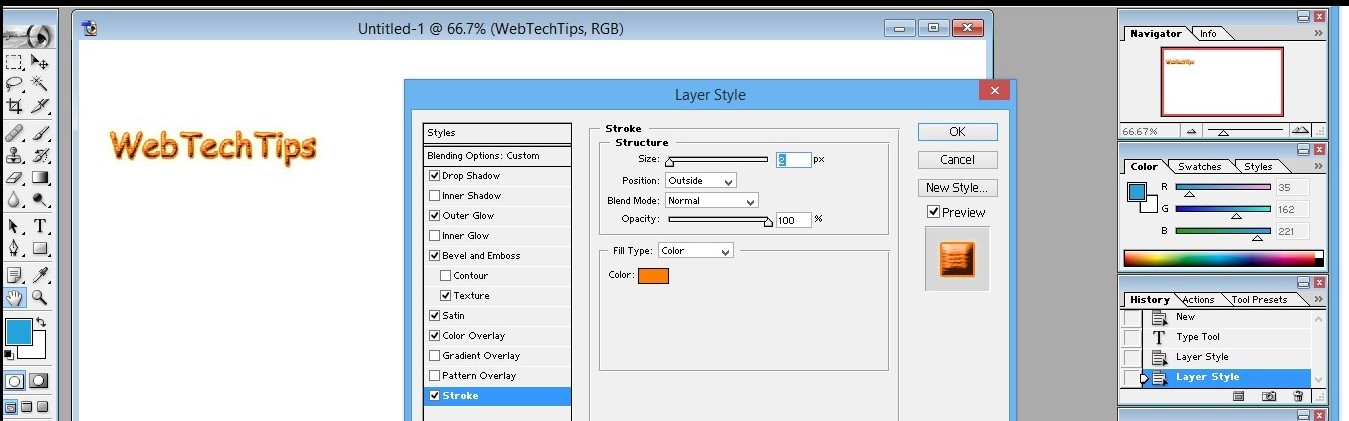
9: Choose “Stroke”,
Size: 2
Position: outside
Blend Mode: Normal
Opacity: 100 %
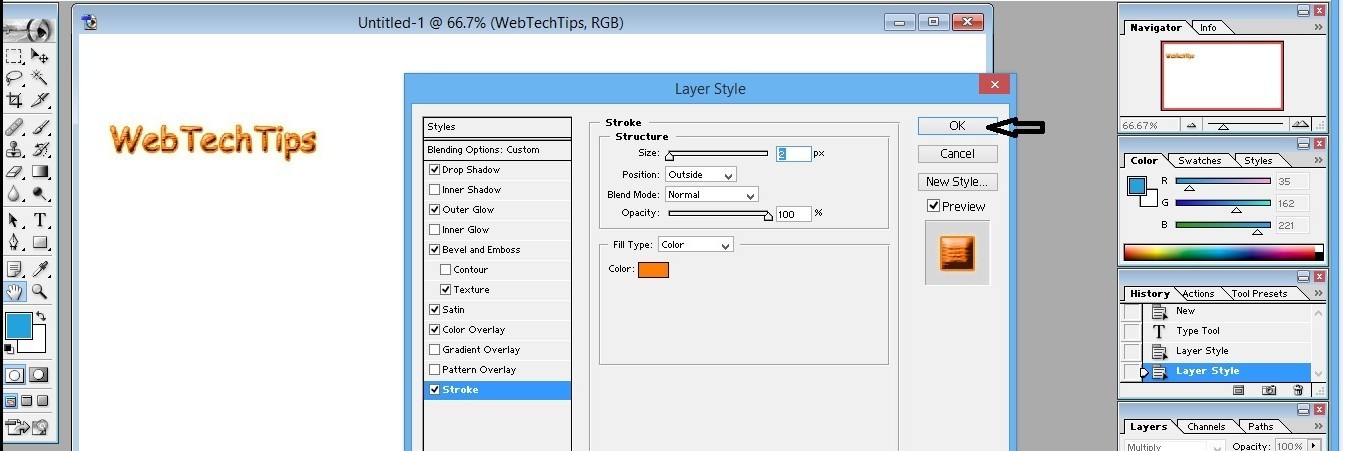
Click on the OK
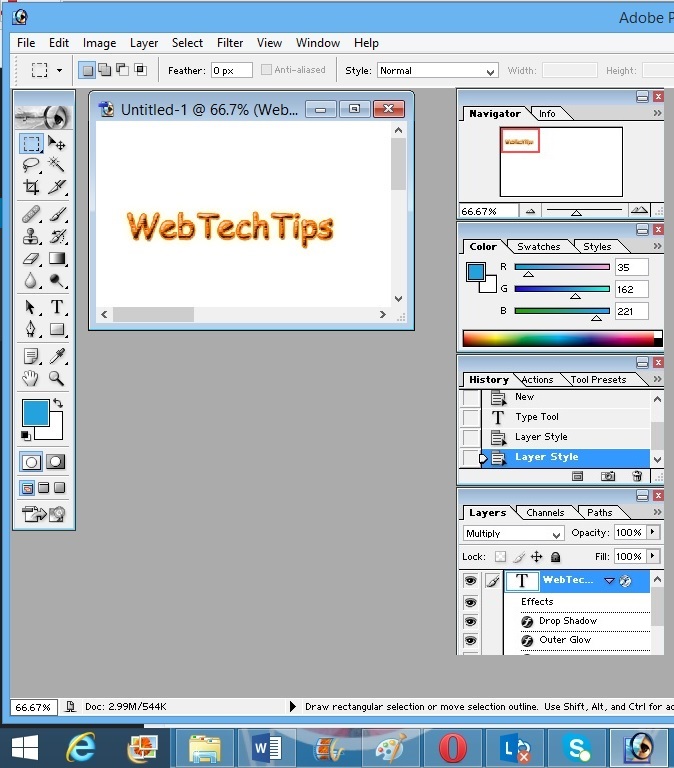
Here your text is ready.
Recent Comments