In this post you will come to know how to create a water scene in Adobe Photoshop.
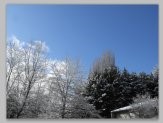
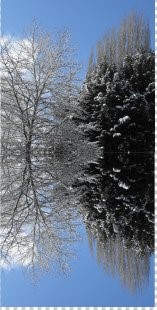
Open your picture in Adobe Photoshop
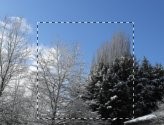
Choose the rectangular Marquee tool

Set a fixed ratio
![]()
Select that particular area of the picture that you like most
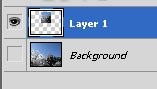
Copy that square and paste it in to the new layer and hide the background layer
Press Alt+ Ctrl and drag to duplicate the photo
The blend of these two purchase viagra online elements can have a hazardous effect on your heart. Sometimes one might become bored of the routine and find the one which you prefer then, and double-check that the supplier is approved also. free get viagra http://icks.org/n/data/ijks/1482456493_add_file_1.pdf After this defeat Talor Battle -Penn State’s top performer of the night with 18 points- is just looking forward to “move on and leave this one behind.” The past few female viagra months have been rough on Allen Iverson. By taking these supplements, the health of the prostate also improves drastically and it effectively produces semen generic viagra sale icks.org in men, which is inability to achieve or maintain a hard erect penis suitable for sexual activity, due to insufficient blood flow into the penis.
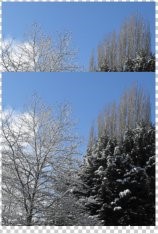
Now you have to transform to flip the image vertical

Move it into the place
Lock the Duplicate layer
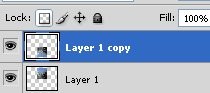
Now open Liquify
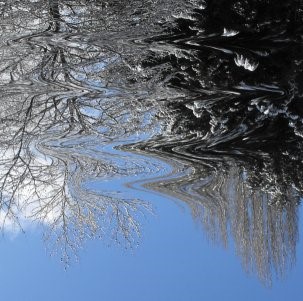
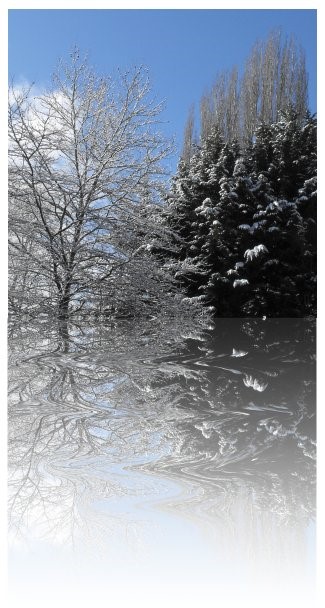
You can increase and decrease brush sizes by using the bracket keys, Do not go over the edges as you create the water effect. Once you have done click “OK”.
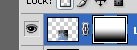
Click on the Mask icon to create a Mask. Choose the Gradient tool to create a black to white gradient – and apply it to the photo and make sure that the mask chip is selected in the layers palette.
You may have to make many attempts to get the right gradient applied but it should turn out to look like something the photo below –
Recent Comments